Tuesday, November 27, 2012

Watercolour Winter


I love vintage stuff and this set just screams out to be used for that purpose.  Instead of just stamping the berries and leaves, I decided to heat emboss with gold and then use my blender pens to fill in the details.  I started with the leaves (Always Artichoke) and then did the berries (Cherry Cobbler).  I loved the look of the leaves, but found that the berries looked too pink so I decided to use the actual CC marker for that bit.  Much better.  The great thing about colouring over heat embossing is the unlikely possibility that you'll go outside the lines!


This is another of the cards we'll be making at the buffet.  Live locally and want a spot?  Drop me an email.  I've got 3 spots left.

Monday, November 26, 2012

Fa la la la... Oh wait, it's still November.


Oh goodness.  It seems that the only motivation I can find today is for making cards!  And CHRISTMAS cards at that!  I love Christmas, however, I've been feeling a little cranky towards all those people that have had Christmas decorations up for the past few weeks.  I feel like it's fair to start on December 1st, but before then is a little much for me.

Even though I don't want my decorations out yet, I'm trying to get all of my cards done by next weekend so I can mail them out.  I hate scrambling on like December 20th to get them all addressed and in the mail.  Not that I would ever do it that late but....


So in my card craze this afternoon I remembered that I had a few packages of this lovely paper (Be of Good Cheer) kicking around.  LOVE Gumball Green and Cherry Cobbler.  Love love love it.  L.O.V.E. kind of love.  You get the picture.

I don't really have any of the "fun" Christmas sets but I wanted a few "fun" cards so I tried this little idea out.  Not too bad!


So when I went outside to take this picture in the failing light (it's only 4:12pm right now, how sad is that?) my little sidekick, Lily, came along to help.  What you can't see are the remains of a stuffed giraffe at her feet.  It's a little grotesque, but she really likes the remaining two front legs of that poor little baby.  I've seen the head around the yard, but not the body, nor the back legs.  I should throw it away, but I'm far too amused by it to do such a thing.


Sunday, November 25, 2012

Sunday Stamps 25


This is one of my ultimate favourite colour combos so imagine my surprise when I saw it on a challenge!  The Sunday Stamps blog is one I look at now and then, but I haven't created a card based on its challenges yet (I don't think).  Anywho, since they have my fave combo up I thought I better play along!

 This set is from last year's mini and I almost cried when they didn't continue it!  I think the little socks are sooo cute, and there's a matching punch too.  I just couldn't think of parting with it andI'm glad I didn't.  I think this card will also make an appearance in my buffet.


I love this non-traditional colour scheme for Christmas.  You can never ever go wrong with Crumb Cake, and the juxtaposition of the bright red against the gentle blue is striking.  Thanks for the challenge ladies!

1 Month 'Til...


I love Sundays.  I especially love Sundays that include drinking lots of coffee and crafting.  This was a super quick little card to put together (once I figured out what I wanted).  I think it might even fit in the skinny post office slot (no extra postage - yay!).


I'm doing a card buffet next weekend so I wanted to balance the more time consuming cards with a couple of quickies and this one fits the bill.  The set is old, but still cute!


Thursday, November 22, 2012

Lovely As a Tree


Sorry for the bad picture.  It's only 4:25 and it's dark outside already.  I could wait until tomorrow to retake the picture, but I'm lazy, and I don't want to. :)

I love this set.  It's the oldest set in the catalogue and I never tire of it.  I also don't seem to be tiring of masking and sponging.  You can make so many variations using this technique, and it doesn't require a bunch of tools to do.

I started my sponging with Night of Navy, but it was just too dark so I switched to Midnight Muse.  Much better.  For the snowbanks and I didn't ink my sponge again, I just went with whatever was left over from the sky.  It's super light, but enough to add some definition.


I knew I needed a little something extra since this is a pretty simple card so I used some Iridescent Ice to glitz up the sentiment.  Perfect!  And because it's so skinny, I can mail it with a regular stamp.  Bonus!  As we get nearer to mailing Christmas cards, that's important to consider.  Postage jumps from $0.61 to $1.29.  Not so bad?  Try mailing 30 cards like that. $18 turns into $38 pretty quick.

Wednesday, November 21, 2012

Blooming With Kindness IV


Originally I had made this card with Marina Mist & Black but then Dynamic Duos used those colours this week, and my card wasn't really dolled up enough for my likings when posting for challenges, so I made another version with Wisteria Wonder & Elegant Eggplant.  Yet again, Blooming with kindness is the only set I've used for this card.  I did however, use the scallop squares die to make the mask.  It's a little more interesting than just the plain old square that you can make without a die (which is still pretty, but I wanted something a little more).

This is a card that anyone could make, and took just 10 minutes from start to finish.

Tuesday, November 20, 2012

Blooming With Kindness III


In my last post I mentioned making several cards with the same set to show how you can use just a few sets to make a variety of cards.  Here's #3 in that series.


This is a super simple layout, perfect for people new to card making.  Again, I wanted to show how you don't need a room full of tools to make a really nice card (okay, I couldn't help myself with the embossing, it just happened!).

All I did here was change the size of the layers a bit, round opposite edges, and use a different colour scheme.  Totally different card.

As it stands, I've got one more card to follow this one for this set.  It's been tricky not to use any other sets, but I'm sticking with just one set for now!  I'll post that one next.


Sunday, November 18, 2012

Dynamic Duos & Blooming With Kindness II


I shouldn't get ahead of myself.  I had planned on just one post today, then follow up posts with cards from Blooming With Kindness, but then I saw the Dynamic Duos challenge.  Oh brother.  I couldn't help myself.  The challenge this week was Marina Mist & Basic black.  I just happened to have made another card with these colours this weekend (which I loved) but for a challenge post, I needed to step it up a notch so I made this one.


I really like non-traditional shaped cards but never seem to make them.  This seemed the perfect opportunity however.  It's a little tough to get it to stand (had to use a nail hole in the post to hold it up!), but I think the fun shape gives it just that little bit extra.

Now I'll have to update the other card with a different colour scheme since I also did masked sponging on it as well.  Something to do tomorrow I guess. :)

Blooming With Kindness Stepped Up

Wow.  I just had a week off and I have no idea where it went.  Oh wait.  That's right.  It went into reading two massive books (A Dance With Dragons - George R R Martin & Winter of the World - Ken Follett), and drinking copious amounts of coffee, because I could.

Anyways, in between all that reading and sipping, I managed to pop out a few cards.  One of my newest sets, Blooming With Kindness, took centre stage.  At regionals in September were were given several presentations about stepping cards up.  The premise being that you can make a rather simple card at workshops, but have a stepped up version that they can make with just a few more steps.

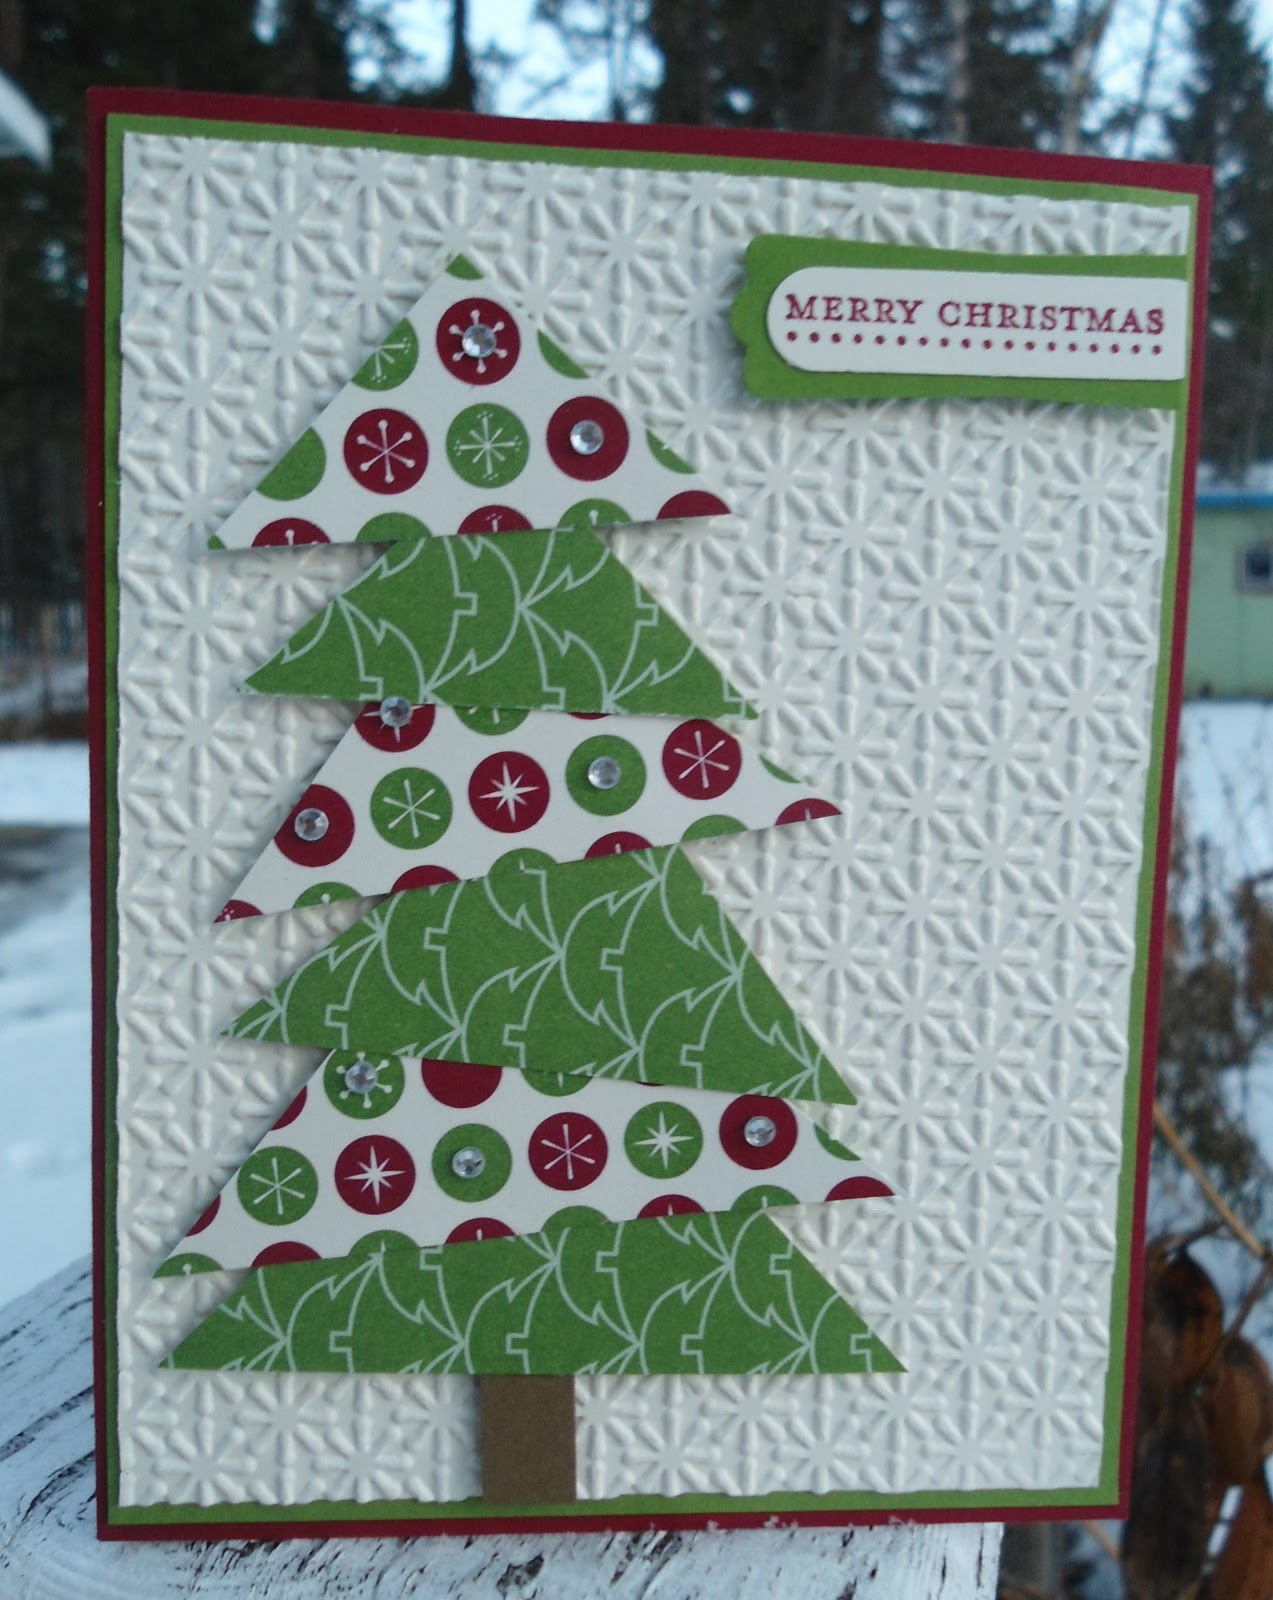
Here's my first take on the stepped up process.


This one is pretty simple.  You really only need basic supplies.  I used the stamp set, 2 inks, cardstock, a sponge, and some ribbon (which is optional).  Pretty simple supplies for a lovely little card. (And quick too!)

With a few more supplies however, you can take the card from lovely to gorgeous.  I stepped it up by:  heat embossing with both gold and Early Espresso powder, embossed the background with the Fancy Fan folder, and distressed the edges a little more with my scissors.


Here's a closer look at the embossing.  The light outside today isn't great, but this card looks beautiful in person.  I'm really happy with how the two embossing powders turned out.  I versamarked the image and then poured on a little of each and shook it around a bit to get full coverage.  I'm going to order the turquoise powder as well and see how it turns out with the gold.


So there you have it!  Stepped up with just a couple of extra goodies.  I'm going to try this out at my next workshop.

Speaking of next workshops, I'm also trying to showcase how you don't need 800 sets to make a bunch of different cards.  I'm going to use this set and make several different options to show how it can be used in a variety of ways.  Stay tuned!

Thursday, November 15, 2012

Colour Q #163


Two posts in one day! I found this little colour challenge from Colour Q this morning and knew exactly what I wanted to do with it.  I've been trying to make more one-layer cards (very difficult for me) but sponging seems to satisfy my need so I'm sticking with that.

The image is from Clockworks (great stamp for making non-girly cards).  This card literally took me like five minutes to make, so it's a good mass producer if you have a need.  I'm envisioning all of the things I could do with a bunch of layers, but I've been trying really hard to make cards that don't require you to have eight hundred tools on hand.

The sentiment on this guy is a little crooked, but I'll save it for when I need a Thank You card for a man.  I'm sure he (whomever he is) won't notice.


Hand Stamped Sentiments #144


Ok, so it's been two full months a while since I last posted.  Life gets in the way sometimes, non?  (Say that line in a French accent - much more effective.)  My darling friend Sandra was so kind as to bring this to my attention this week whilst crafting, so I decided I better get on it.  Plus, I have a week off work so I think I'll try and cram a ton of blogging in to shut her up make her happy.

Anywho, over at Hand Stamped Sentiments this week they've got a challenge for snowflakes.  I recently got this set (Snowflake Soiree) and decided it was time to play. 


This summer I went on a bit of a bender collage stamping and used that technique here as well.  In the background you can see En Francais (best stamp ever).  I stamped it in Bashful Blue and then off once so you can just barely see it.  Then along the bottom I stamped the image from the Snowflake Party wheel (I hate wheel stamps, but once you pull them off the wheel and add some cling mount foam, voila!  Magic!)

Though the collage factor of this card takes a little time, the lack of a bunch of layers makes it pretty quick to assemble, and since the sentiment is the only additional layer, it can be mailed with a plain old regular stamp.  No surprises at the post office.

That's that!  Back to stamping and blogging like crazy to appease my crazy friend. :)  Love ya CFAL!